Teams
Last updated: 2026-06-26
Teams let you share access to your status pages with other people in your organization, without sharing your account password.
With Teams you can:
- Create a team (owned by your account)
- Invite members by email
- Choose a role per member (Admin, Editor, or Viewer)
- Link your status pages to a team so members can access them
- Manage team incidents, maintenances, analytics, and on-call schedules from one workspace
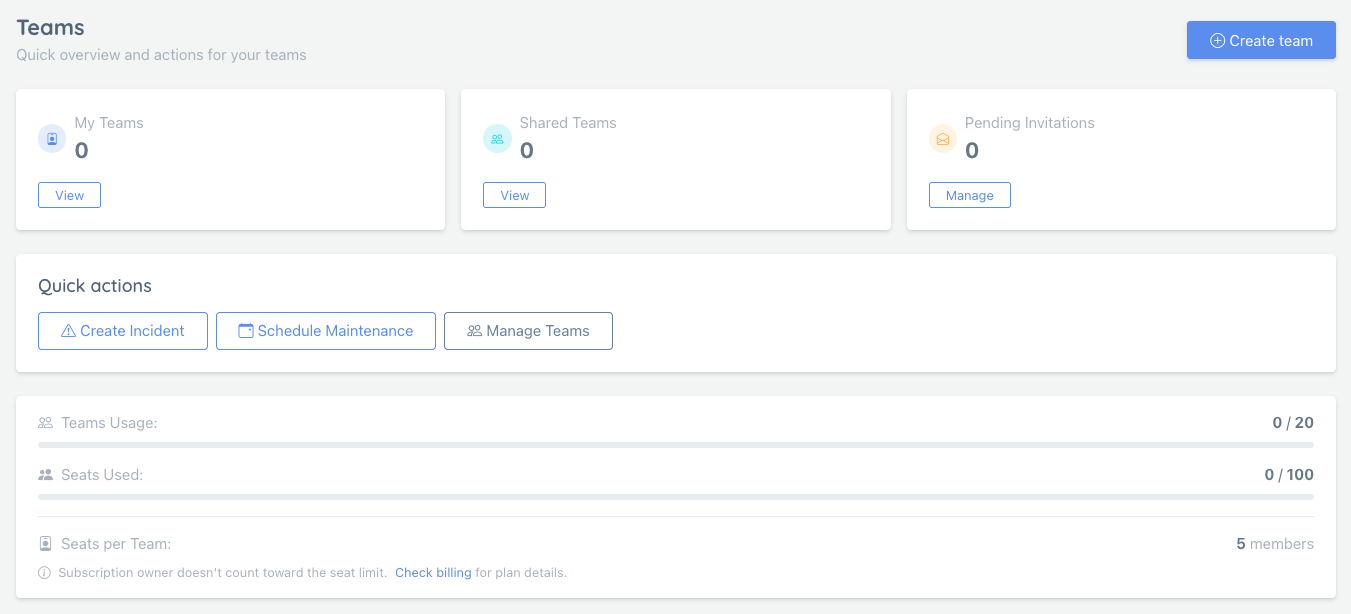
The Team Workspace
Opening Teams switches the dashboard into a team-focused workspace. Select the active team from the switcher at the top of the sidebar.
The sidebar is organized by task:
| Section | What you’ll find |
|---|---|
| Overview | Team summary, invitations, usage, and quick actions |
| People & Access | Members, invitations, roles and permissions, and the team audit log |
| Operations | Status pages, incidents, maintenances, on-call schedules, and analytics |
| Settings | Team settings plus activity and settings history |
The active team remains selected while you move between its resources. Use Personal dashboard at the top of the sidebar to return to your account-level workspace.
All Teams, Owned Teams, and Shared Teams
Use All teams in the team switcher—or the Teams overview—to find every team you can access.
- A team you created is an owned team.
- A team you joined by invitation is a shared team.
These labels describe how you gained access. After selecting a team, both types use the same task-oriented workspace.
Availability (Plans & Limits)
Team functionality depends on your subscription plan. Different plans offer different levels of access:
| Limit | Description |
|---|---|
| Teams Enabled | Whether teams are available at all on your plan |
| Number of Teams | How many teams you can create (varies by plan) |
| Seats per Team | How many members you can invite to each team |
Note: The subscription owner (team creator) does not count toward the seat limit — they have automatic access to all their teams.
Checking Your Limits
To see your exact limits:
- Go to Billing in the user dashboard
- Review your plan’s feature limits
If Teams aren’t available on your plan, the Teams pages will prompt you to upgrade.
What Happens When You Hit a Limit?
- Team limit reached: You won’t be able to create new teams. Delete an existing team or upgrade.
- Seat limit reached: You won’t be able to invite more members to that team. Remove a member, cancel a pending invitation, or upgrade.
Progress bars on the Teams page and individual team pages show your current usage.
Creating a Team
- Go to Teams in the dashboard
- Open All teams if necessary
- Click Create Team
- Enter a Name (and optional description)
- Click Create
After creation, you’ll land on the team page where you can invite members and link status pages.
Inviting Members
Team invites are sent by email.
- Open your team
- Open People & Access → Members
- Click Invite Member
- Enter the person’s email address
- Choose a role (Admin, Editor, or Viewer)
- Send the invitation
Pending invitations
Invitations appear under People & Access → Invitations and on the team page until accepted.
- You can resend an invitation if the email was missed
- You can cancel an invitation if it was sent to the wrong address
Note: invitation links expire in 7 days. Resending generates a fresh link.
Accepting or Declining an Invite
Invited users can accept from the link in the email.
- Accept: you’ll be added to the team immediately.
- Decline: the invitation is removed and you won’t be added.
If the invitation is expired, ask the team owner to resend it.
Roles and Permissions
Teams use four roles:
| Role | What it means |
|---|---|
| Owner | Owns and manages the team. Can invite/remove members, change roles, link/unlink status pages, edit team settings, and delete the team. |
| Admin | Editor permissions plus access to status page settings on linked status pages. |
| Editor | Can manage (edit) linked status pages (for example, incidents and maintenances). |
| Viewer | Can view linked status pages, but can’t edit them. |
Notes:
- Owners and Admins can manage members, invitations, and roles.
- Only the team owner can link or unlink status pages and edit ownership-level team settings.
- Owners can’t “leave” their own team; they must remove members or delete the team.
Linking Status Pages to a Team
Linking a status page is what grants the team access to it.
Important rules:
- Only the team owner can link/unlink status pages.
- You can only link status pages that you own.
Once a status page is linked:
- Admins can edit/manage that status page and access status page settings
- Editors can edit/manage that status page
- Viewers can view that status page
Some features also use per-status-page allowlists (for example, historical analytics access). See Historical Uptime for details.
On-Call in a Team
On-call configuration for shared status pages lives under Operations → On-call in the selected team workspace.
The team On-call area includes:
- Schedules linked to status pages in the selected team
- The current responder and rotation members
- Escalation and routing configuration inside each schedule
- Response metrics for the team’s schedules
All team members can view schedules linked to the team. Schedule editing remains restricted to the account that owns that schedule. Owners, Admins, and Editors can create a schedule from the team workspace when their plan includes On-Call.
A team schedule must be linked to one of that team’s status pages. If the team has no linked status pages yet, link one before creating the schedule.
The team detail page also includes direct On-Call shortcuts:
- a header action button: Open Team On-Call
- an On-Call summary card in the sidebar with the team’s schedule count plus shortcuts to Open schedules and Response metrics
The main dashboard also has My On-Call, which is the personal responder view. It shows schedules you participate in plus personal or unassigned schedules; it is not the place to configure a shared team’s schedule.
See On-Call Scheduling for the complete workflow.
Component Group Permissions
Editors can be further restricted to specific component groups within a status page. When a page has explicit group assignments, those assignments do more than limit edits: they also scope what the member sees inside team-facing workflows such as the Simple Dashboard, incident lists/details, and component pickers.
Owners and Admins always retain full access. Editors with explicit group assignments only work inside their assigned groups, and ungrouped components no longer fall back to page-level Editor access for those scoped members.
See Component Group Permissions for the full setup guide.
Status Page Settings Access
On linked pages, Admins can access the full Settings area, including:
- Web Analytics configuration (enable/disable provider, change service, placement)
- General settings (title, description, visibility)
- Custom domain and branding options
- Incident templates and notification preferences
Admins and editors may also encounter operational tools such as runbooks and incident templates while managing incidents on linked pages.
Editors can manage operational content (incidents, maintenances), but cannot change Settings.
Viewers only have read access.
Audit Logging
Team-related actions are recorded for accountability, including:
- Membership changes (invites, accepts, role updates, removals)
- Page linking/unlinking
- Settings updates on linked status pages (e.g., analytics changes)
Audit trails help you track who changed what and when.
Owners and Admins can open People & Access → Audit log for the selected team. Individual team pages also include a View logs shortcut in Team Information.
For the broader audit trail guide, see Audit Logs.
Leaving a Team
If you are not the owner, you can leave a team from the team page.
If you are the owner:
- You can’t leave your team
- Remove members and/or delete the team instead
Troubleshooting
“Teams are not available” / “Upgrade to enable Teams”
Your current plan doesn’t include Teams (or Teams are disabled for your account). Upgrade your plan to enable the feature.
“Invitation has expired”
Invites expire after 7 days. Ask the team owner to resend the invitation.
“You do not own this status page” when linking
Only the team owner can link status pages, and the status page must be owned by that same account.
I accepted an invite but don’t see the status page
Make sure the team owner has actually linked the status page to the team. Team membership alone doesn’t grant access until the status page is linked.
I don’t see an on-call schedule in My On-Call
Shared-team configuration is organized under Teams → select the team → Operations → On-call. My On-Call focuses on schedules where you participate and personal or unassigned schedules.
Where do I open a team’s on-call schedules?
You can open them from either place:
- Teams → select the team → Operations → On-call
- the Open Team On-Call button on the team detail page
The team detail page also shows a sidebar On-Call card with quick links to schedules and response metrics.
I can’t create a team on-call schedule
Check all of the following:
- Your role is Owner, Admin, or Editor.
- Your plan includes On-Call.
- The team has at least one linked status page.
- You can manage the status page selected for the schedule.